Chapter 6 · 1B Calendar guide
Create events and repeats: one day, this and following, or all
Create events by dragging on the grid or with N, and make them repeat however you need.
Create an event
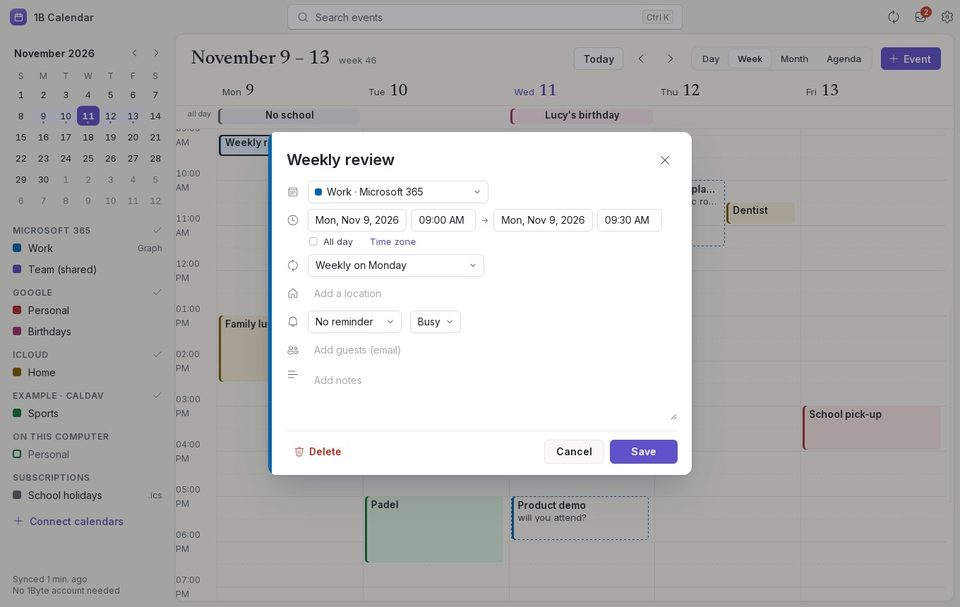
- Press N or click Event. Or drag on the week or day grid over the hours you want.
- Type a title in Add a title and choose the calendar at the top (its ink shows on the edge of the window).
- Set the dates and times, or tick All day. Time zone lets you give the event its own time zone.
- Add a place, a Reminder, whether you'll show as Busy or Free, guests' email addresses and notes.
- Click Save (or press Ctrl Enter).
To move an event, drag it; to make it longer or shorter, drag its bottom edge. It snaps to 15 minutes.
Make it repeat
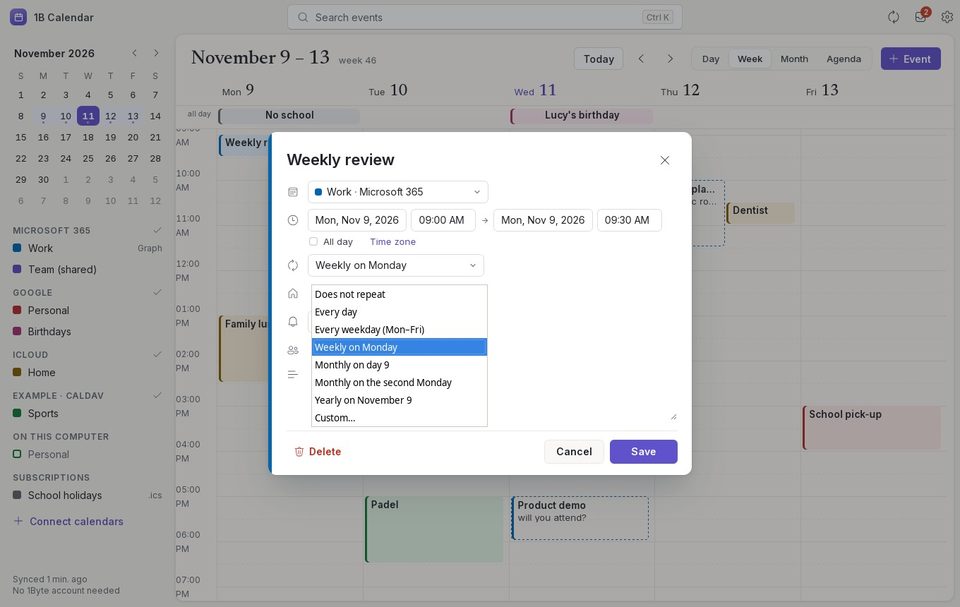
In Repeat choose a quick option — Every day, Every weekday (Mon–Fri), weekly on that day, monthly on that day or on “the first Monday”, yearly — or Custom….
Custom… lets you choose Every how many days, weeks, months or years, which days of the week, and when it Ends: Never, On date or After a number of times.
Change one day or the whole series
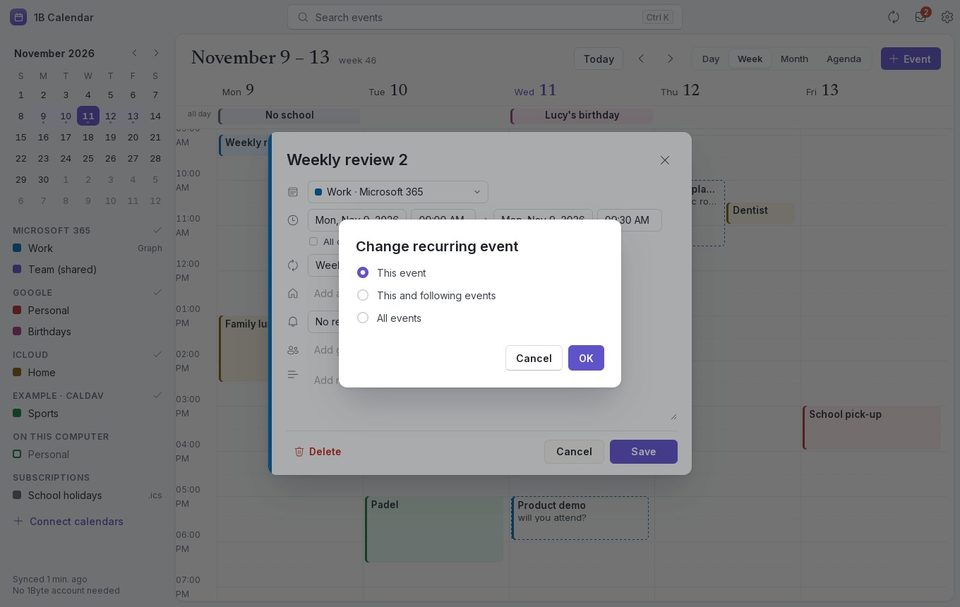
When you save or delete an event that repeats, 1B Calendar asks: This event (only that day), This and following events (from that day on) or All events.
Changing one day keeps the rest of the series as it was. Deleting one day leaves a gap and the others stay.
Reminders
Reminders appear as system notifications while 1B Calendar is open. Reminders with the window closed are on their way.
In Settings › General you choose the Default reminder for new events, the Default event length and whether you want Reminder notifications at all.
Search and .ics files
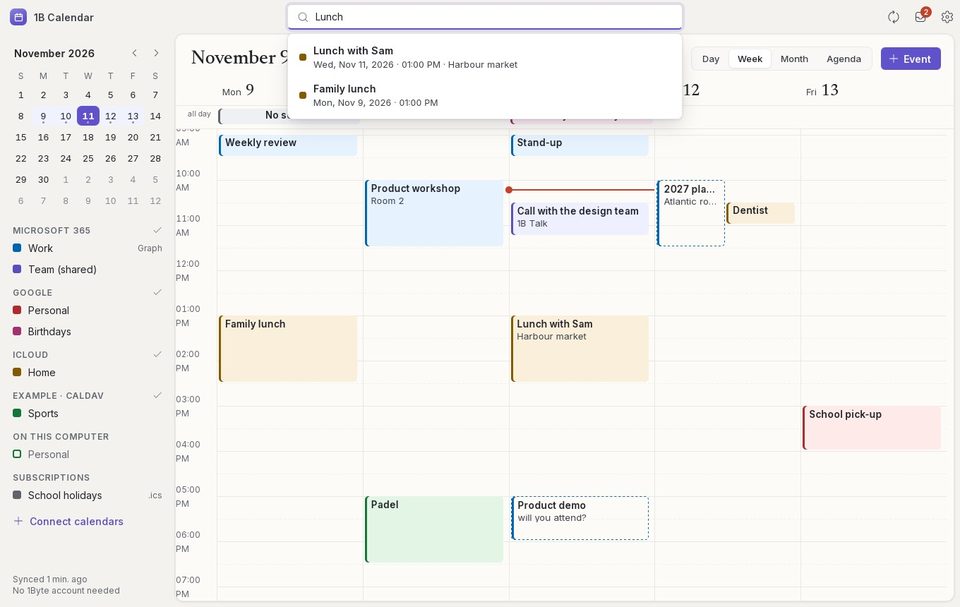
Press Ctrl K (or click Search events) and type: it finds events by title, place or notes in every account. Click a result to go to it.
Open an .ics file with 1B Calendar to add its events (it shows them first so you can choose the calendar), and use Export as .ics in an event's panel to save it as a file.
For 1B Calendar 0.1.1 on Windows and Linux.